Dogfighting in PlanetSide 2 puts your skills as a pilot to the ultimate test. In this extensive guide we’ll prep you up with a hardened dogfighter loadout for your ESF and a wealth of tips and tricks to mow down opposing air. Let’s clean up the skies!
![]()
![]()
![]()
At its best, when two pilots go against one other in their empire-specific fighters (ESF), dogfighting in PlanetSide 2 becomes a pure game of skill, a most thrilling experience. And since the last tweak to the experience system of PlanetSide 2 a while ago, being a pilot was actually made viable again in terms of amassing certification points — even if you’re only getting kill assists.
Refitting Your Aircraft
Let’s start out by refitting your ESF with a loadout specifically made for anti-air:

![]() The basic premise of this interceptor loadout is that with the External Afterburner Fuel Tanks you’ll be capable of reverse-thrusting much longer and much more frequently than your enemy, which makes this build so deadly against ESF. The extra tanks also allow you to catch up to whoever you’re tailing or escape safely when in danger even if you’re deep in enemy territory. As such, you should be well-versed in the art of reverse-thrusting already before even trying to breach into dogfighting territory big time (see also On Mastering Two Reverse-Thrust Maneuvers).
The basic premise of this interceptor loadout is that with the External Afterburner Fuel Tanks you’ll be capable of reverse-thrusting much longer and much more frequently than your enemy, which makes this build so deadly against ESF. The extra tanks also allow you to catch up to whoever you’re tailing or escape safely when in danger even if you’re deep in enemy territory. As such, you should be well-versed in the art of reverse-thrusting already before even trying to breach into dogfighting territory big time (see also On Mastering Two Reverse-Thrust Maneuvers).
 With your primary high-rate-of-fire rotary nose gun, you’ll mow down enemy air the most efficiently. Just be sure to cert aplenty into Maximum Ammo Capacity and Magazine Size so that you don’t have to go resupply every time you take down one of the meatier prey (Galaxy, Liberator, etc). Running air-to-air rockets as your secondary is what you want to avoid. Doing so deprives you of the extra reverse-thrusting the fuel tanks have to offer, leaving you wide-exposed to the seasoned dogfighter when trying to get a lock-on going (even with reduced lock-on timer).
 Since with Vehicle Stealth you no longer show up on enemy radars (except when being spotted manually with the “Q” key), getting a jump on your prey with this interceptor loadout gets so much easier. Just dive down from high altitude and position yourself so closely behind your target (by that I mean point-blank range) that unloading your first clip into the enemy strips a good chunk of health already.
Before Take-off

Mr. Reaver and Mrs. Mosquito — such a pretty couple!
There are a couple of important things you should do before taking off. Here’s a checklist:
Set up your mouse & keyboard controls and adjust the graphics. For more on this, read On Setting Up Your Controls. I’d recommend to turn off shadows as well in-game, as in dark scenes it’s entirely possible to mistake shadows for actual targets.
Play with headphones on. If you listen closely with your headphones on, you can pick up enemy air by their audio cue alone. This is a huge advantage if, for example, you don’t have visuals on your enemy or are being tailed.
Switch to engineer. You want to repair your aircraft whenever its health drops below 50% depending on the situation. Being an engineer allows you to quickly land someplace safe (preferably a landing pad to resupply on ammo also), repair up, and get back into the action. Don’t forget to invest into the engi’s Repair Toolkit.
Set a map waypoint for orientation. You may want to get an overview first what the safe zones and hot zones on the continent currently are, so go to the map screen (“M”) and select “Enemy Activity” as map filter. Now, there are basically two ways to put waypoint markers to good use (both help the fact that dogfights can get extremely disorienting):
- Mark resupply points with a waypoint that are safe (like the warpgate) or relatively safe (more in proximity to where you operate) and where you can repair up and resupply.
- Mark hot zones with a waypoint where you need tread extra carefully and where you don’t necessarily want to tail enemy ESF into (due to flak, enemy air, etc).
If you’re done, then let’s take off and start looking for prey!
Scouting
It seems a certain someone is ignoring our plan to scout at high altitude…
Instrumental to your success as a pilot, scouting not only gets you your bearings and keeps you from overcommitting in battle but lets you also strategically plan ahead how to best snuff out the target you set your crosshair on.
There are a couple of things you should heed before plunging head over heels into the action though. Here’s a list with a few important pointers:
Stick to a high altitude for scouting. You want to be high enough in the air to get perfect vision and avoid enemy anti-air on the ground while still being within render distance to spot any movement underneath you. Game Update 13 introduced a new altimeter that shows your current height above ground level instead of, formerly, above mean sea level (for more, see here). A scouting altitude of 600 m leaves you just within render distance of any ground units and should provide you, excepting the south of Indar, with enough buffer space to comfortably reverse-thrust without bumping into the invisible sky ceiling above. Actually ramming into the sky ceiling is something you want to avoid at all costs since it loses you control over the aircraft for a couple of seconds.
The alternative is to stick to a very low scouting altitude, so low that you’re almost kissing the ground with the nose of your aircraft. This tactic can pay off in areas where there are structures and terrain formations that can hide your presence well to the enemy above. Southern Indar jumps immediately to mind here for employing this tactic.(However, we deem Amerish and especially Esamir completely unsuitable for this — these continents are too wide open. Nonetheless, since you’re scouting so low too the ground, you might want to switch to first-person view (middle mouse button by default) for scanning your surroundings, especially the sky above you.
Rely on audio and visuals for spotting your prey. While it’s nice to have the minimap all zoomed out (with the “[” key), don’t rely on your radar too much. Rather, watch the skies and ground in third-person view, and listen closely (with your headphones on) for those audio queues the empire-specific fighters make when they’re in close vicinity of you. Always be on the lookout for those Liberators that are silently hovering at a high altitude as well.
Try to hide your presence. You gotta be aware of the fact that your aircraft also makes noise. If you’re trying to be extra stealthy because you’re deep in enemy territory for instance, try to fly with no other forward momentum than your vertical thrusters (“Spacebar”). Vehicle Stealth will do the rest for you to keep you undercover.
Prioritize your targets in the correct order. This advanced air-to-air loadout has a glaring downside: you’ll inflict no effective damage upon the more heavily armored ground units such as Sunderers or battle tanks. Predominantly, you are the counter against enemy air. Assaulting a Sunderer with your primary gun, for example, will not only leave you widely exposed to opposing air, but it also causes you to deplete your ammo quickly, and a beginner-level engineer will outrepair you without breaking a sweat.
Therefore, I suggest you maintain the following order in which you tackle your targets (from most important to least important):
- ESF
- Liberator
- Galaxy
- return to 1., or continue below if you really must
- Lightning
- Harasser, Flash
- Sunderer, MBT (main battle tank)
- Infantry
For any aircraft that you are about to engage (this goes especially for the Galaxy and Liberator), check first if there’s isn’t an ESF escort accompanying them. If so, take out the escort first of course.
Frequently change course. Rather than flying to your objective in a straight line, deviate from your set path as often as you can and look in all directions, underneath and above you. This way you’ll scan a much greater area for enemy presence, and avoid being jumped upon in surprise by enemy aircraft (Liberators can be extra spooky).
It seems we’re done here, let’s head into the red zone.
Combat

“I THINK I’m being tailed — not sure!”
Combat is where it all comes down to: How well can you stay on-target to win the dogfight? Here are few pointers to help you survive longer:
Fall bloodthirsty from the skies. The ideal scenario — what this loadout was built for by bringing Vehicle Stealth and the extra fuel tanks to the field — is to dive down from high altitude onto your spotted prey to then position yourself so closely behind your target that unloading your first clip into the enemy aircraft should settle the deal. Well done!
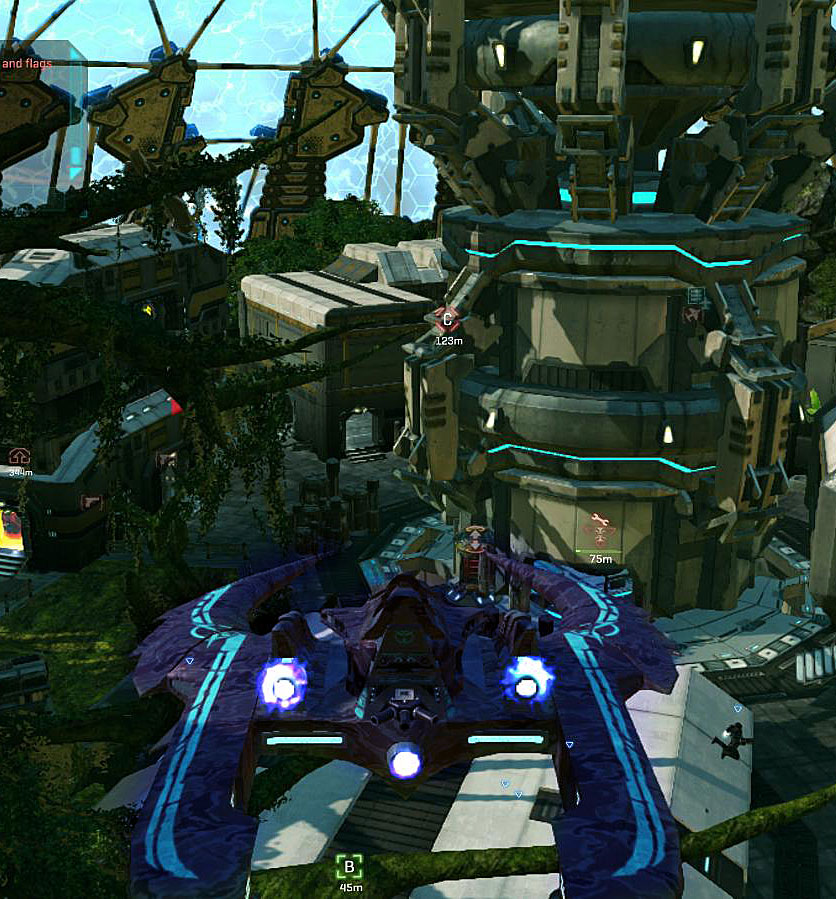
Don’t overcommit. I fear one-for-one trades (you trade your ESF for your enemy’s) aren’t anywhere near good enough in PlanetSide 2. In the very least you should be able to outrun the acquisition timer of your aircraft. Therefore, heal up and resupply in time and know when to break pursuit over unfavorable territory — even if you’re really bloodthirsty for that one kill. If all goes wrong and you don’t have ways to defend yourself profitably anymore (because you’re out of ammo or gravely low on health), set course to the next resupply point, climb to maximum altitude, and hope for the best. My personal rule of thumb is to pick a fight I can actually win — unlike the Reaver pilot in the image above.
Stay on-target by reverse-thrusting a lot. You may find it hard at first to stay on-target all the time especially if you’re being cut hard or outmaneuvered. Using sound for re-orienting yourself after having lost track of your opponent works well if you’re using headphones. This ESF build packs in the extra fuel for longer reverse-thrusting, so use the Barrel Roll Turn a lot to U-turn on the spot and in a blitz. If you need to refresh your memory on reverse-thrusting, read here. Also, the article On Using the Throttle (Analog) Key for Reverse-Thrusting might be of particular interest to the dogfighter in you. Be aware of the fact that if your opponent is using Vehicle Stealth also that he won’t show up on the radar either (no matter how close he is) until you’ve spotted him manually with the “Q” key.
Lead your target. To actually hit a moving target, you need to shoot way ahead of its projected flight path — that’s called leading. Because in PlanetSide 2 weapons don’t inherit velocity from the shooter, you have to be aware of the speed and direction the target is flying in in an absolute sense, not just relative to you. In other words, if you’re tailing someone moving at high speed, your bullets are going to get to the target slower and with more bullet drop than they would if you were both stationary in the air. So, just because your target is under your reticule and staying there, doesn’t mean your bullets are going to hit. It’s important to take into account not only the projected flight path of the enemy but also your vehicle’s speed and that of the opponent. As a guideline, it helps to aim at the projected location where the enemy cockpit or nose will be for maximum accuracy. (Thanks SushiCW.)
Don’t panic when coming under fire. The worst you can do is to engage your afterburners in a panic attack just to ram your aircraft into the nearest tree. Stay calm and try to identify from which direction the enemy fire is coming from and whether it’s enemy air or ground which you can usually distinguish between by audio queue alone. You can avoid enemy flak by gaining altitude fast (>700m) or by breaking line of sight when flying low to the ground and using the terrain as cover. “Weaving” your way out of the danger zone by shaking your mouse like a madman also helps to evade with your aircraft in rather unpredictable patterns.
Cover your turn when being tailed. Having an enemy ESF at your six will put you at an immediate disadvantage: they have their weapons pointed at you while you have not. If you do decide to engage, there are two options to maximize your chances of winning the duel:
- Use structures like bio labs or the terrain (rock formations) to break line of sight with the enemy. Come to an abrupt halt behind your cover, re-position, and engage the opponent with your weapons pointing at him already. However, for that to happen, you need to be relatively close to the ground.
- Over open terrain and at a higher altitude the best you can do to cover your turn is to U-turn with the Barrel Roll Turn, a reverse-thrust maneuver. Since you’re reverse-thrusting oftentimes in two, three directions at once, you won’t be much exposed during the actual U-turning but solely in the initial slowing-down phase, taking approximately two seconds, when you’re abruptly cutting your throttle and beginning to turn.
Escape by flying low and breaking line of sight often. Escaping into save territory when being tailed can be hairy. Try to stay low and fly closely to (and through) structures and rock formations as cover. First-person view pays off here.
Deal with pilots using air-to-air missiles separately. You’ll be heavily disadvantaged at range so try to overshoot the enemy at full speed to close the gap immediately making it impossible for him to get a lock-on going, then transition into reverse-thrusting for turning and close-quarter engagement. Don’t forget that after deploying your Decoy Flares the opponent can’t lock onto you with their air-to-air missiles for another five seconds, so pump aplenty lead into their scumbag hull.
Final advice. Even with the extra tanks, you don’t want to waste your afterburner fuel needlessly on fancy maneuvering. Save it for the actual dogfight. Especially at a distance don’t spray with your primary. Rather, fire in short bursts only to preserve ammo and to effectively focus-fire the enemy down.
—Leonard

Some good stuff there mate.
PS: A couple of little grammar mistakes, nothing major though
Grammar mistakes — that’s not a good sign. I’d like to eradicate them completely. Would you mind pointing me in the right direction where to look for them?
“Use structures like bio abs or the terrain (rock formations) to break line of sight with the enemy. Come to an abrupt halt behind your cover, re-position, and engage the opponent with your weapons pointing at him already. However, for that to happen, you need to be relatively close to the ground.”
“Bio abs”. ‘Nuff said.
“pump aplenty lead into their scumbag hull”… yeah that’s your typical A2A lock on pilot all right. 😛
Any advice on the merits/drawbacks of auto-repair?
Yes, actually I reserved an extra article for a comparison of Nanite vs. Stealth vs. Composite Armor. However, I’m hesitant to write up the article now as the ESF game update is imminent.
Basically, it boils down to the following: Nanite is the most effective if you’re running in a group (one wingman already qualifies for that) that can back you up, whereas Stealth is best used if you’re soloing the continent as a lone wolf.
Hey, I have a suggestion for a minor tweak/clarification when talking about “Leading.” I just realized this the other day and it explains so much about why I haven’t been able to hit my targets as consistently as I thought I should.
In PS2, weapons do not inherit velocity from the shooter. For infantry, this makes little practical difference, but for ESFs it becomes a huge deal. The intuitive assumption (true in a lot of flight/space sims) is that your bullets inherit your velocity, so you need to calculate lead based on *relative* position and velocity. However, in PS2, you need to calculate lead based on “absolute” position and velocity. If you’re tailing someone moving at high speed, your bullets are going to get to the target slower (and have more drop) than they would if you were both stationary.
So just because your target is under your reticule and staying there doesn’t mean your bullets are going to hit. You have to be aware of the speed/direction the target is flying in an absolute sense, not just relative to you.
By the way, fantastic site and I really appreciate your work. As a new ESF pilot, it’s been an extremely valuable resource.
Well explained. I’ll go over the post again and expand upon the section on leading.
Interesting to note: As of GU13, the M20 Mustang (default Reaver gun) with maxed reload speed actually has a faster TTK (with accuracy penalty) than the Vortek Rotary with maxed reload or mag size does…
Ehh, still cant fly worth a dime, but great job continuing this Joh…:)
it cues, not queues
ty, corrected.
Thanks for all your articles and this one especially. It is, and will be sooo useful to me !
I’m glad to see some experiment players sharing their knowledge with beginners.
Btw, you just converted a Coyotes spamming noob into an afterburner tank/reverse maneuvers apprentice… Doesn’t bring more frags yet but grants me a lot more fun for sure 😉